Building the Garden
Designing and building the garden was a huge undertaking. This blog post walks you through the design and construction journey we’ve been on for the past two years!
In the garden design, we wanted a garden space large enough to grow both flowers and vegetables, and we wanted an outdoor living area where we could enjoy being outdoors even if we weren’t working in the garden or if we didn’t have ideal weather conditions.
We decided upon a rectangular english-style garden, 80 feet long and 48 feet deep, with raised beds. We found a mostly level space in our yard that receives full sun and began by staking out each of the four corners. It was December, it was rainy, and the ground was muddy one day and frozen the next. So, we stopped.
I hated waiting, but it gave us more time to plan garden beds, fencing, materials, the she-shed, water & electricity. We also observed drainage problems which needed correcting to prevent water from flowing into the garden area during heavy rains.
January was a drier month and I was able to level the garden area, cut swells to direct water away from the garden, and set the four corner posts. Lowe’s delivered pressure treated lumber for the 6x6 posts, the garden beds, and 2x4s plus pre-cut pickets for the fence panels.
I built a jig in the garage to build eight foot fence sections. Every day, I dug 3-4 post holes and erected the same number of fence posts. While the concrete hardened around the posts, I built fence sections in the garage. The following morning I’d hang 3 or 4 sections of fence, dig more post holes, and so on.
The fence pickets were nailed to their 2x4 supports, and the fence section was then hung on the 6x6 posts using deck screws and joist hangers. Using joist hangers allows me to easily remove any section of fence for access to the garden. Initially, I removed the fence sections often as I’d bring in new garden beds, along with the tractor, to fill the beds with topsoil. The fence jig is pictured below along with a section of fence being built.
Doing a little every day, I completed building the garden fence by mid-February. Mud was still a daily challenge.
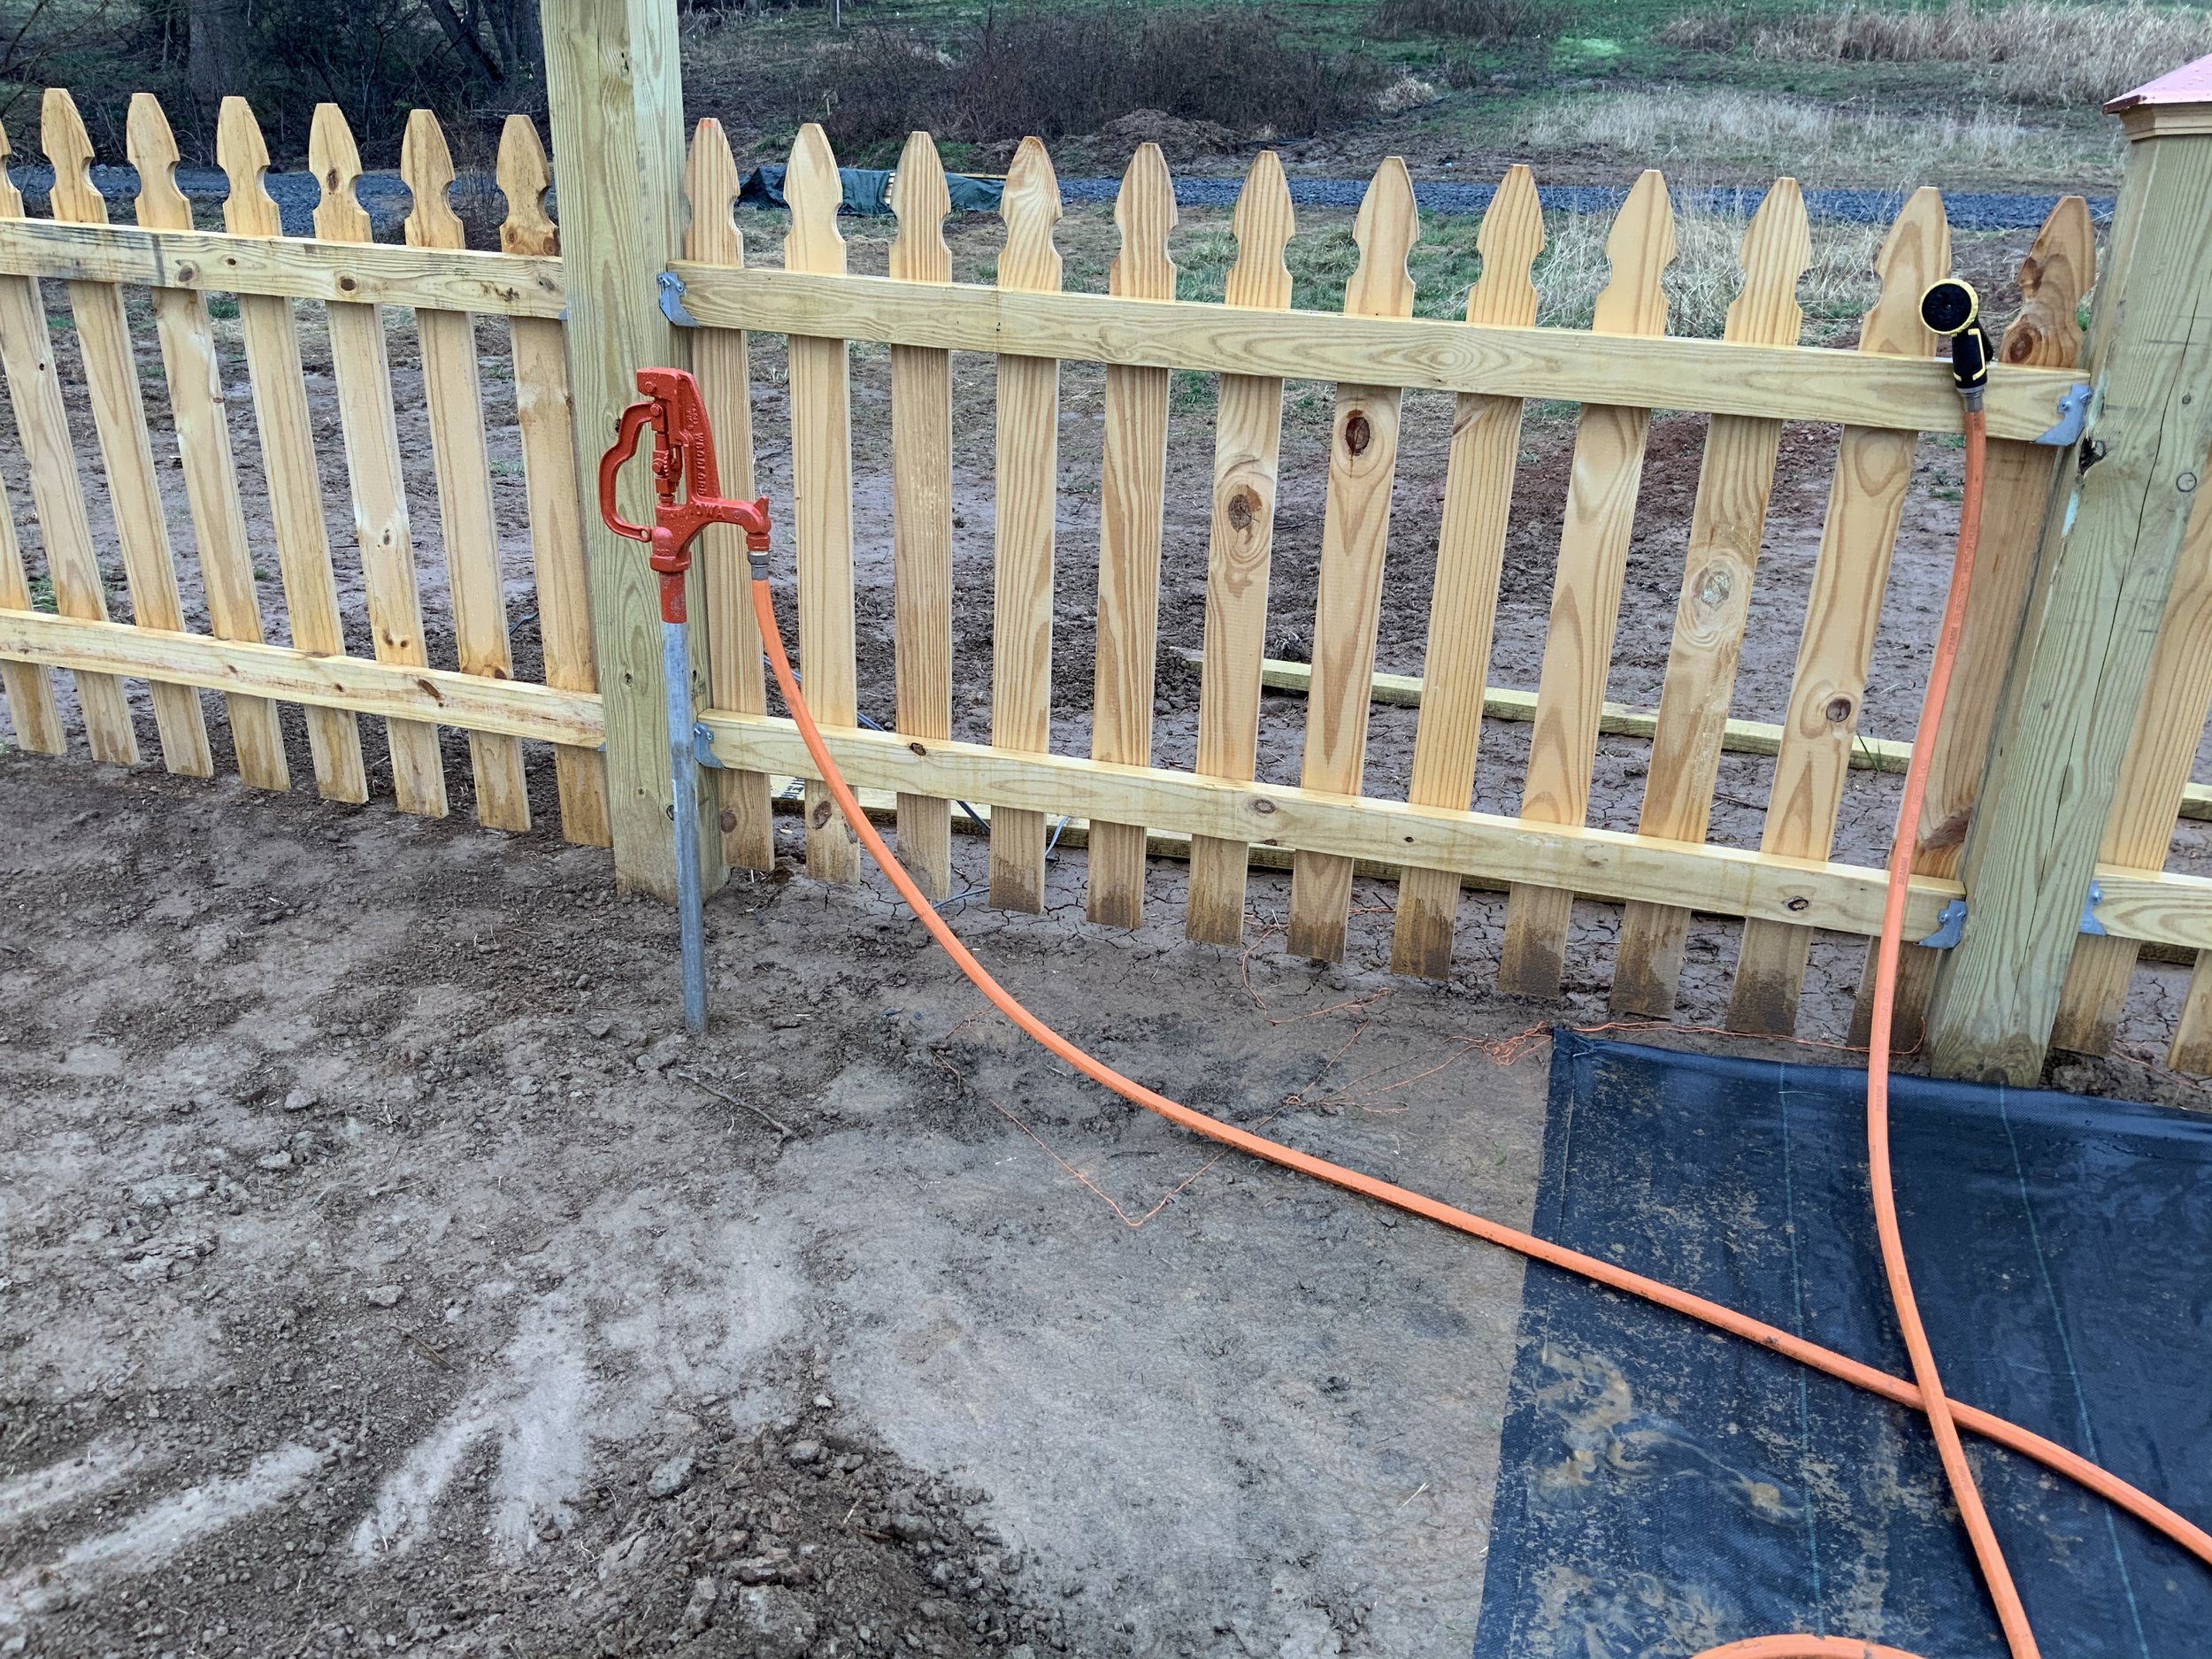
In March, we rented a trencher and installed electric and water lines. For the electric lines, we installed 12 gauge direct-bury wire that connects from the house’s outside electrical outlet to the (future) she-shed. From there, we buried electric lines to the center of the garden, for a future fountain, and to the far end of the garden for an electrical outlet. We used pex 1/2” tubing for the water lines. I drilled through the foundation to hook the garden water line to our main (house) water supply line. I then installed two frost-proof hydrants in the garden which gives us access to water at each end of the garden. All water lines were buried 2 1/2 feet deep so they are well below the area’s 20” frost line. One of the water hydrants is pictured below.
With the fence complete (except for a big hole for the future she-shed!), access to water, and warmer weather, we began to lay landscape fabric and install garden beds. The garden pathways are three feet wide, so we used RSI 4-foot commercial landscape fabric, along with HongWay 6” staples, to lay out the aisleways. Thus far we have been very happy with the durability of both products.
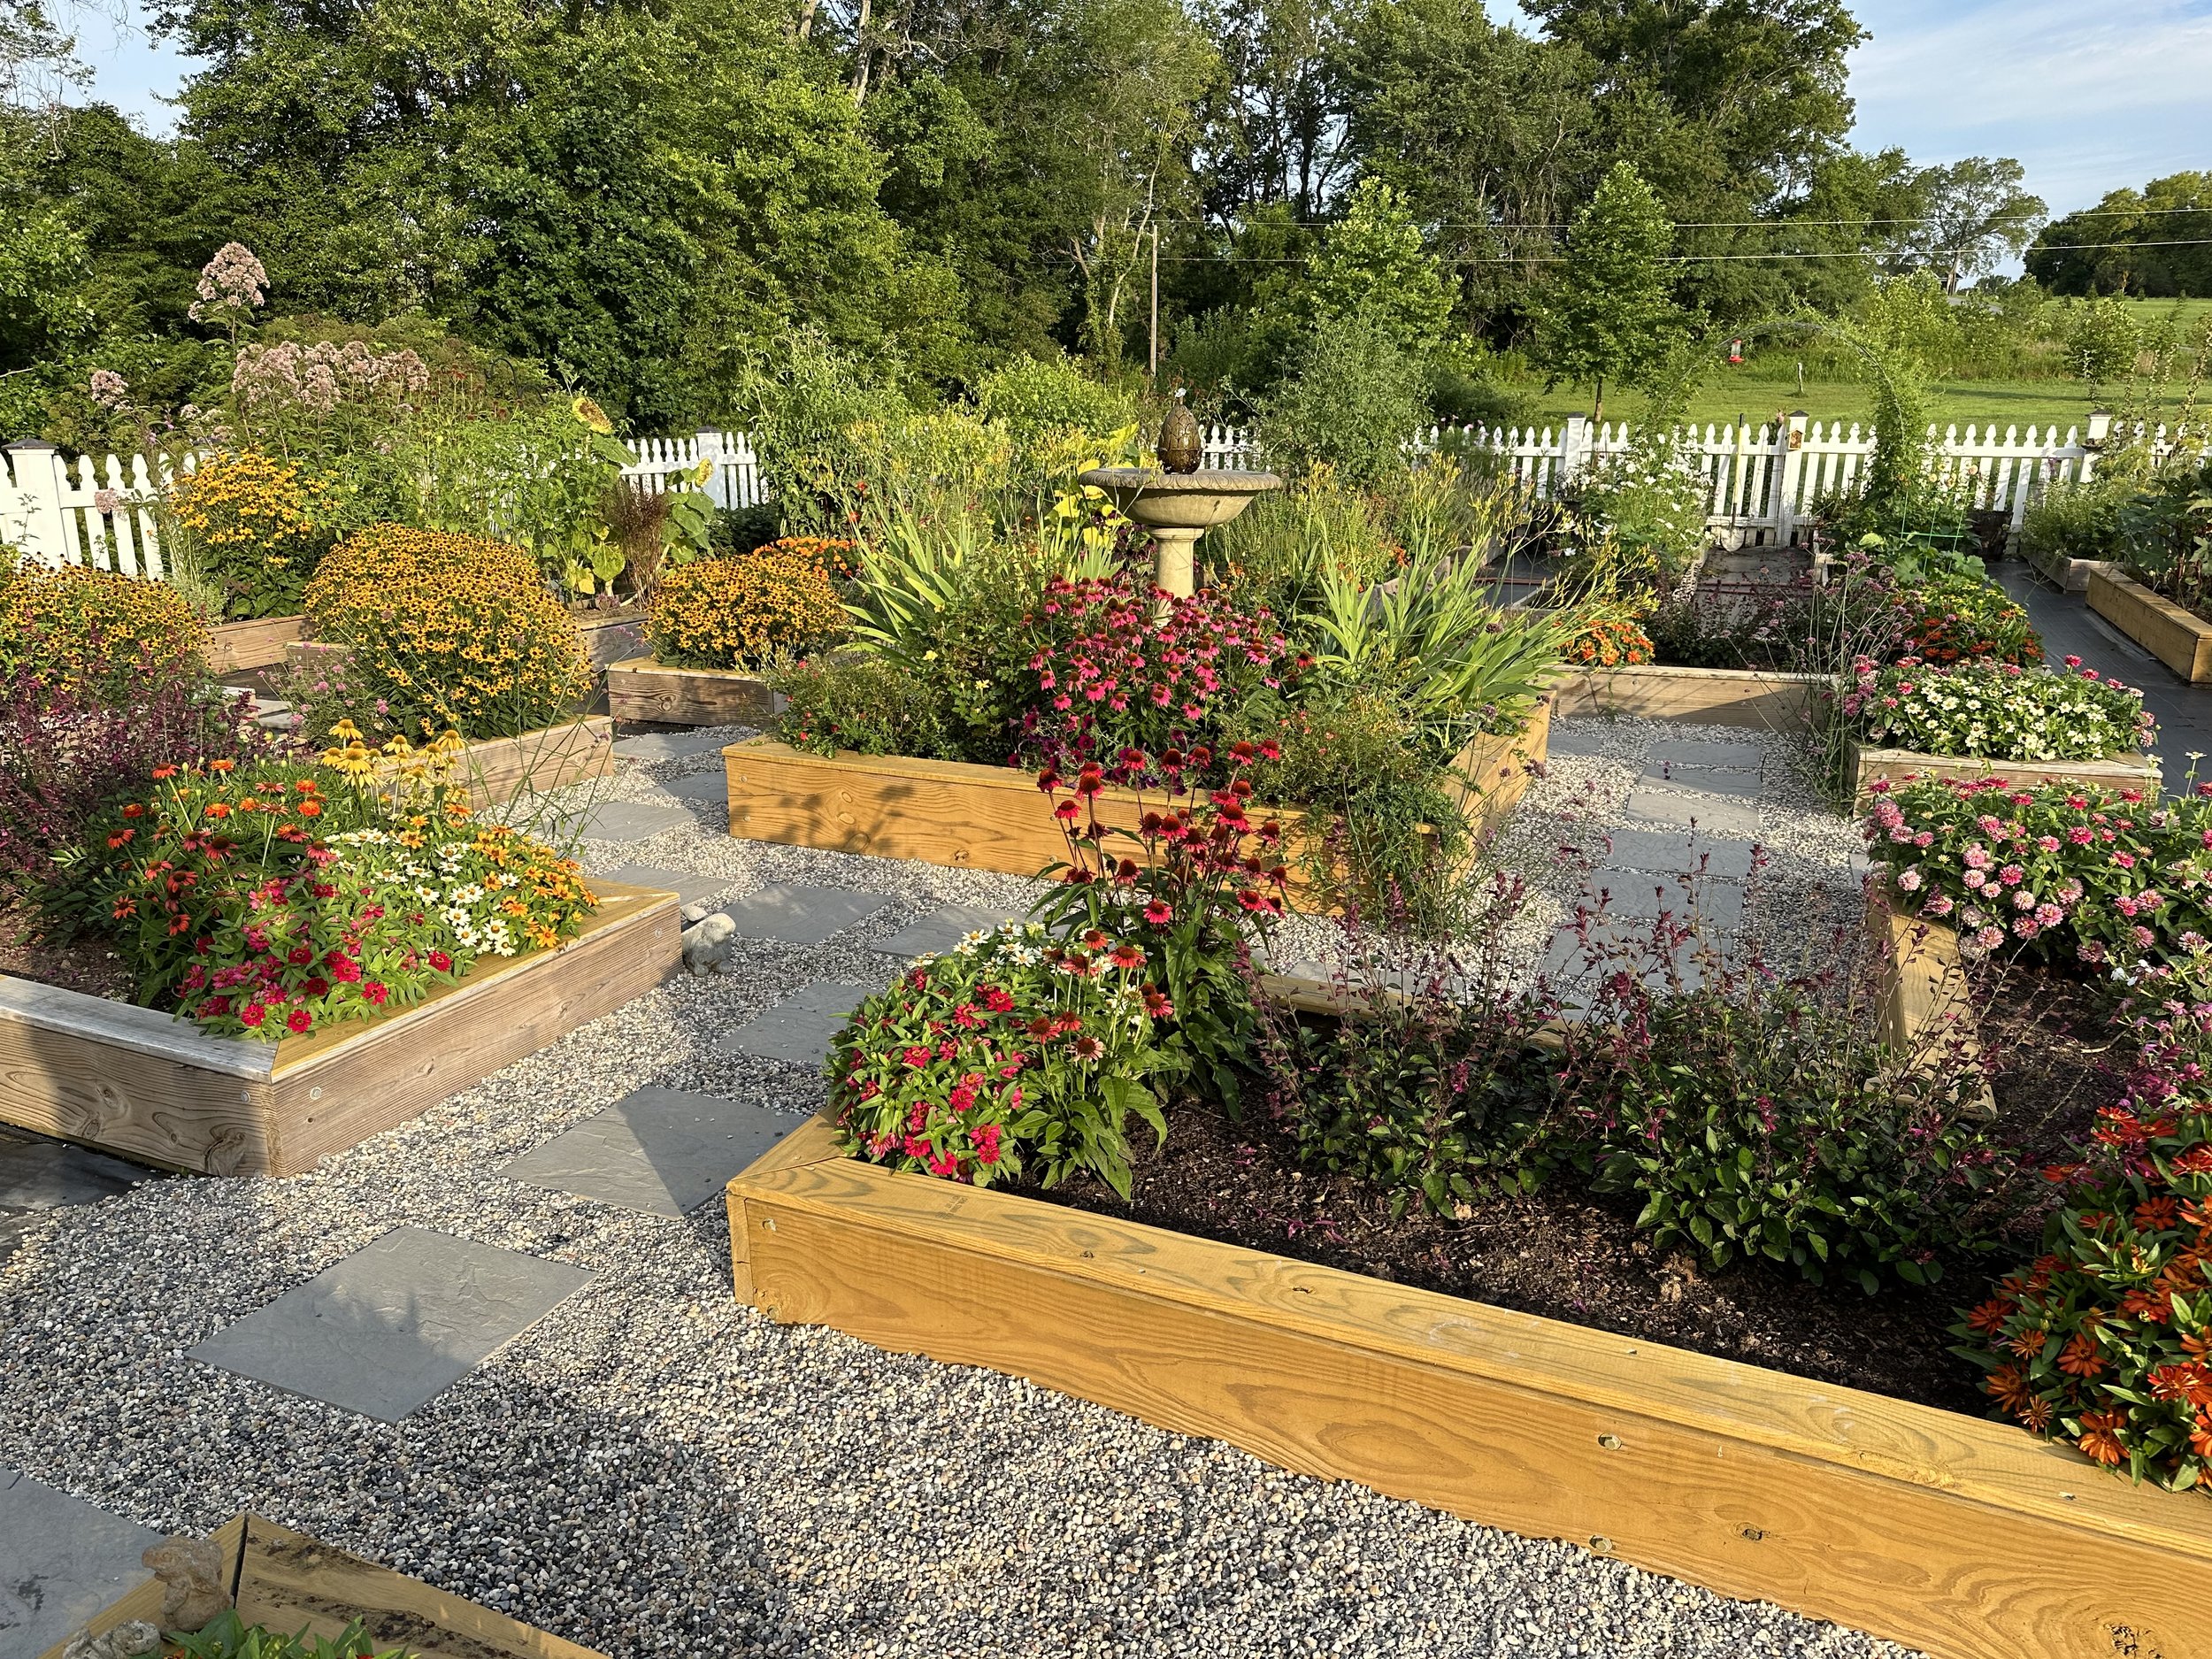
I worked on building, and filling, the raised garden beds off and on for over eight months. Each garden bed is built with 2x10s, except the center bed, which is built with 2x12s. They are held together with 4x4s, galvanized lag screws and washers. Each bed sits 1.5” off of the ground as we plan to eventually add gravel to the garden pathways. I constructed the majority of the bed frames in the garage as I found working on the level garage floor to be much easier than working in the garden. I then transported each bed frame to the garden by carrying one end, resting the other end on a two-wheel dolly, and simply walking/rolling it out and setting it in place. Once the frame was where I wanted it, I used the tractor (mostly) and wheelbarrow (occasionally) to fill them with soil. Filling all the beds with soil used over 40 yards of material! We ordered top soil from three different suppliers. Our favorite soil was a 50/50 blend of topsoil and leaf compost from JK Enterprise Landscape Supply. Here’s a drone photo from August of 2021 showing the progress on garden bed construction.
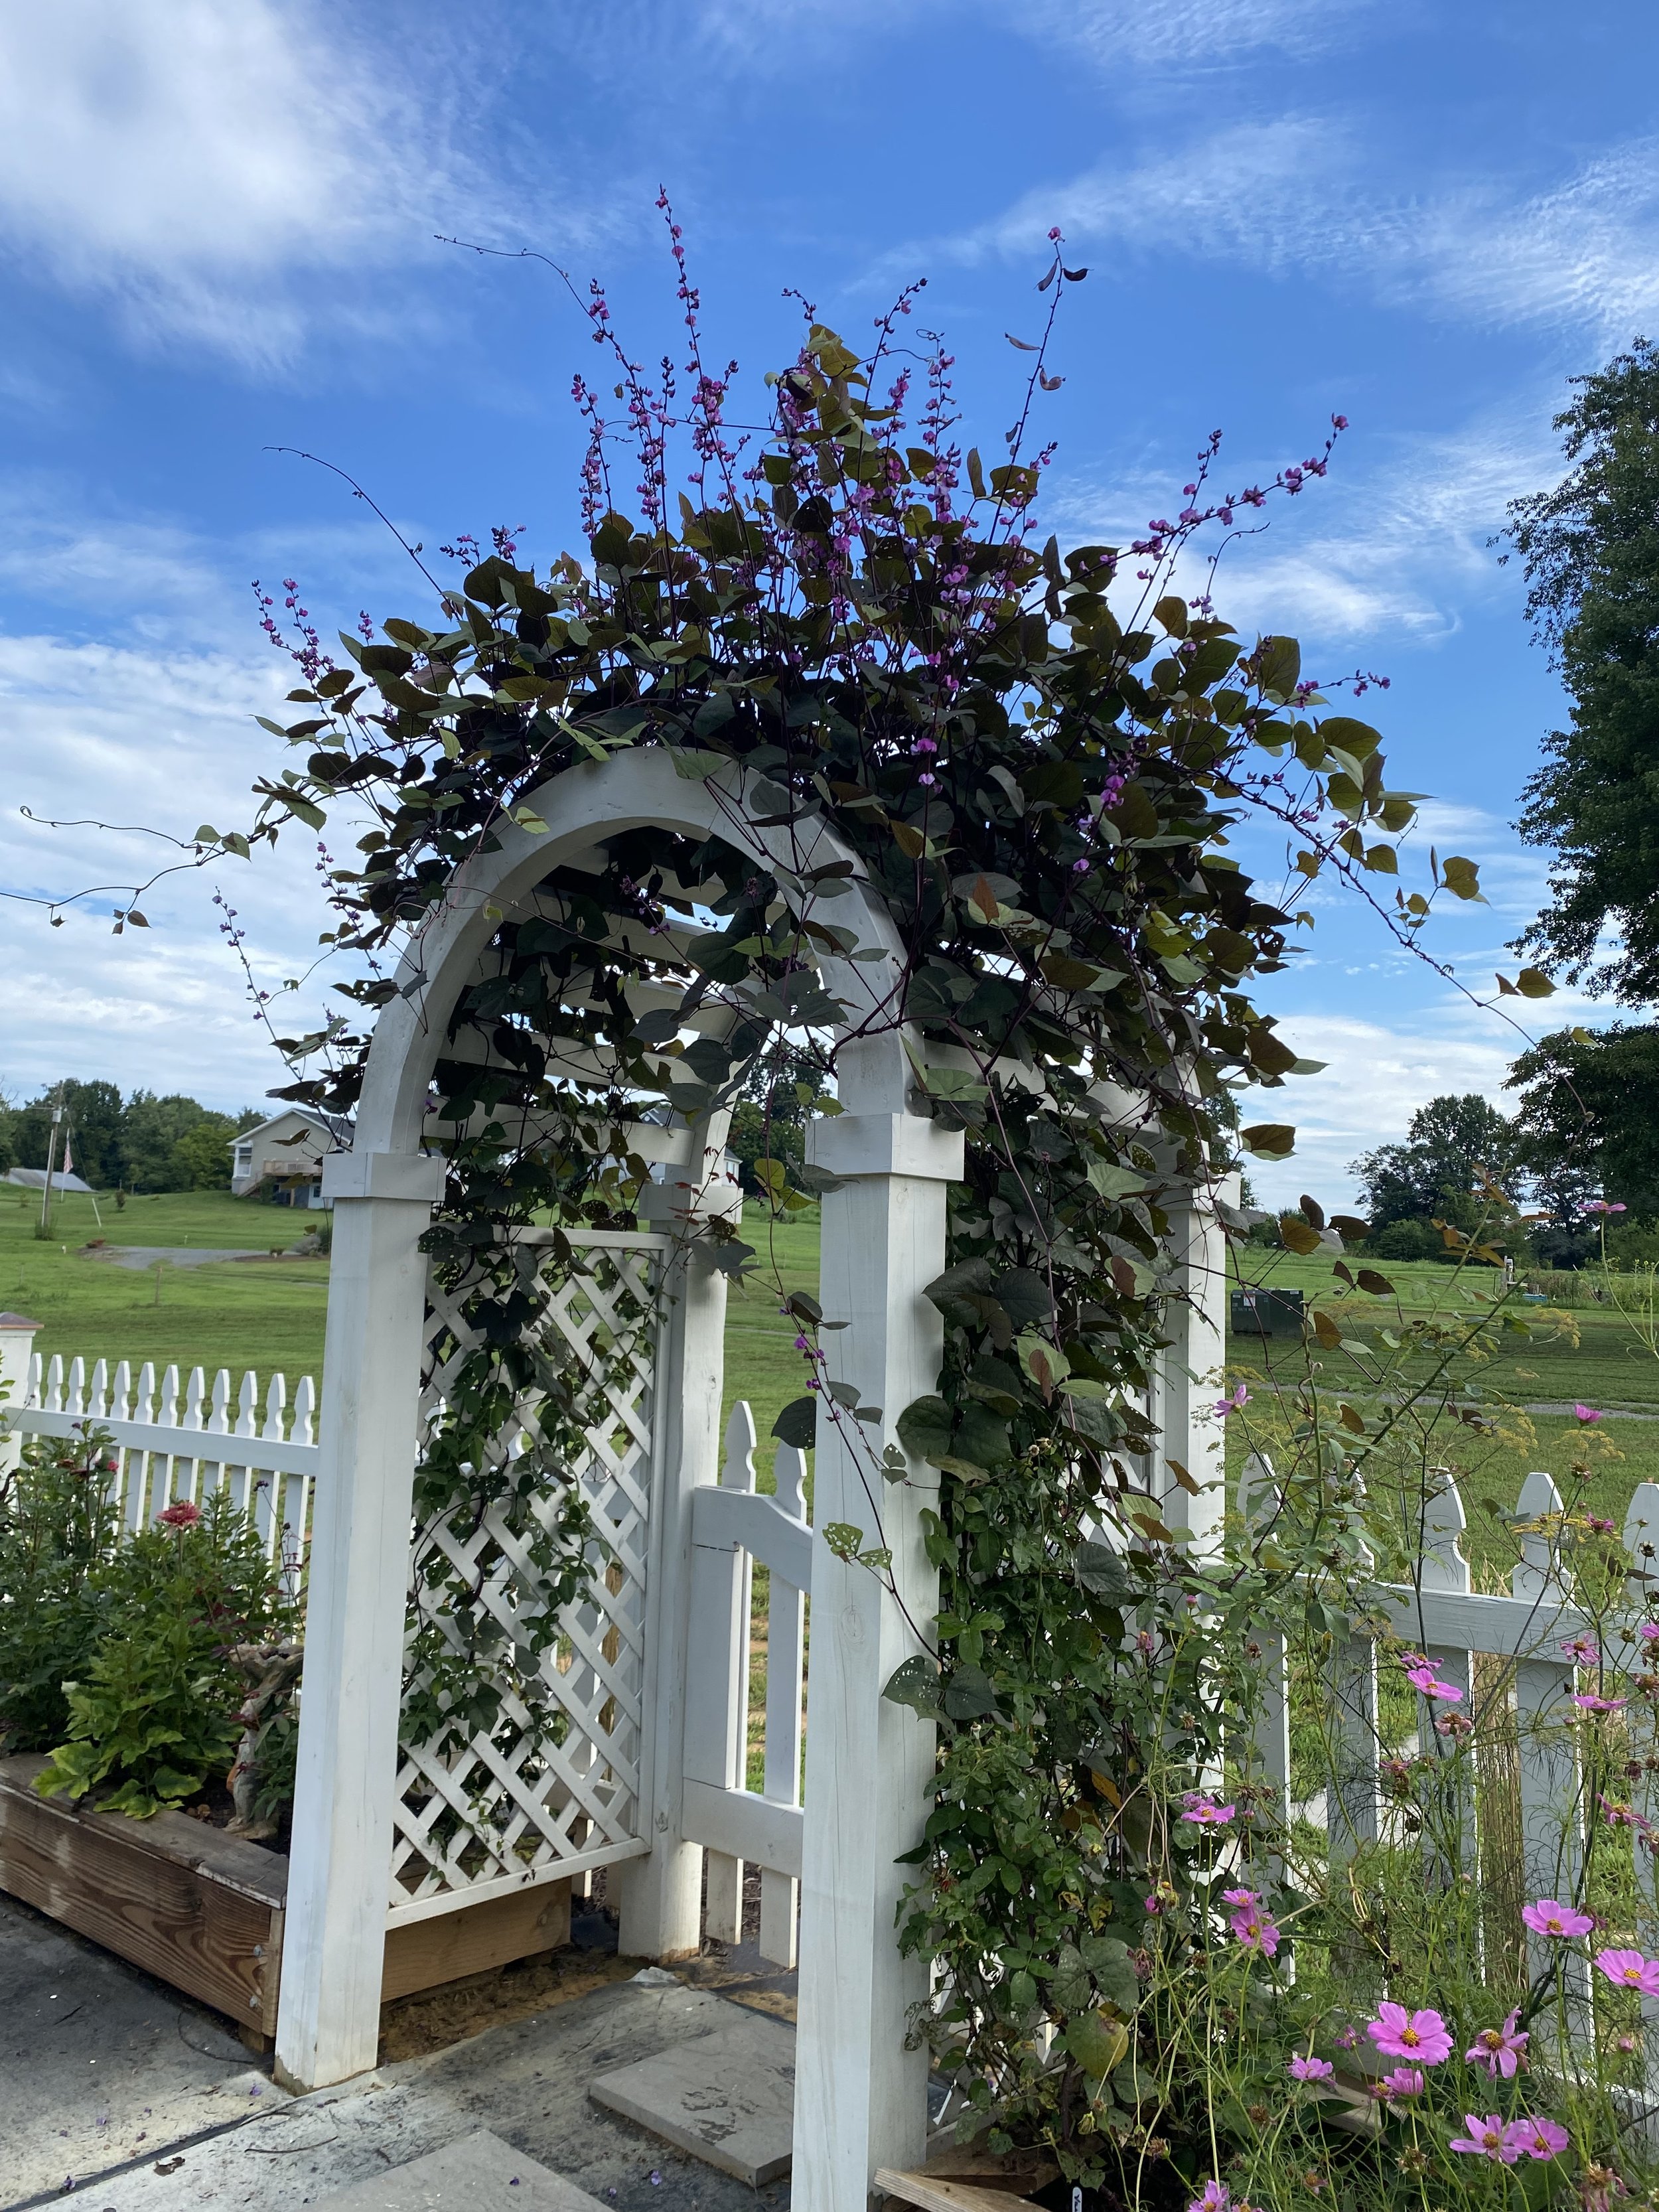
The garden fence was stained white in May of 2021 which allowed a few months of drying time for the treated lumber after the fence was built. We used over 20 gallons of Valspar solid white stain from Lowe’s, along with a paint sprayer, to paint the fence. Each fence panel was removed, carried to a makeshift painting location, sprayed, allowed to dry and then put back in place. The posts, gates and trellis were painted in place on a calm day with a combination of spraying and hand painting. The whole process was surprisingly fast. Thus far, we have been very happy with the Valspar stain. It covered in one coat with the sprayer and two coats when painting by hand.
As I write this post in December of 2022, a full two years after staking out the garden area, construction is still not fully complete! I need to finish staining the outside of the bed frames, finish the edging on the tops of the beds, and put gravel on the garden paths. In 2023, I also plan to add drip irrigation to each of the beds to decrease time spent on hand watering while improving the effectiveness of the watering. Building the garden, and the she-shed, has been a labor of love but well worth the effort.
Let us know what you think in the comments section below.
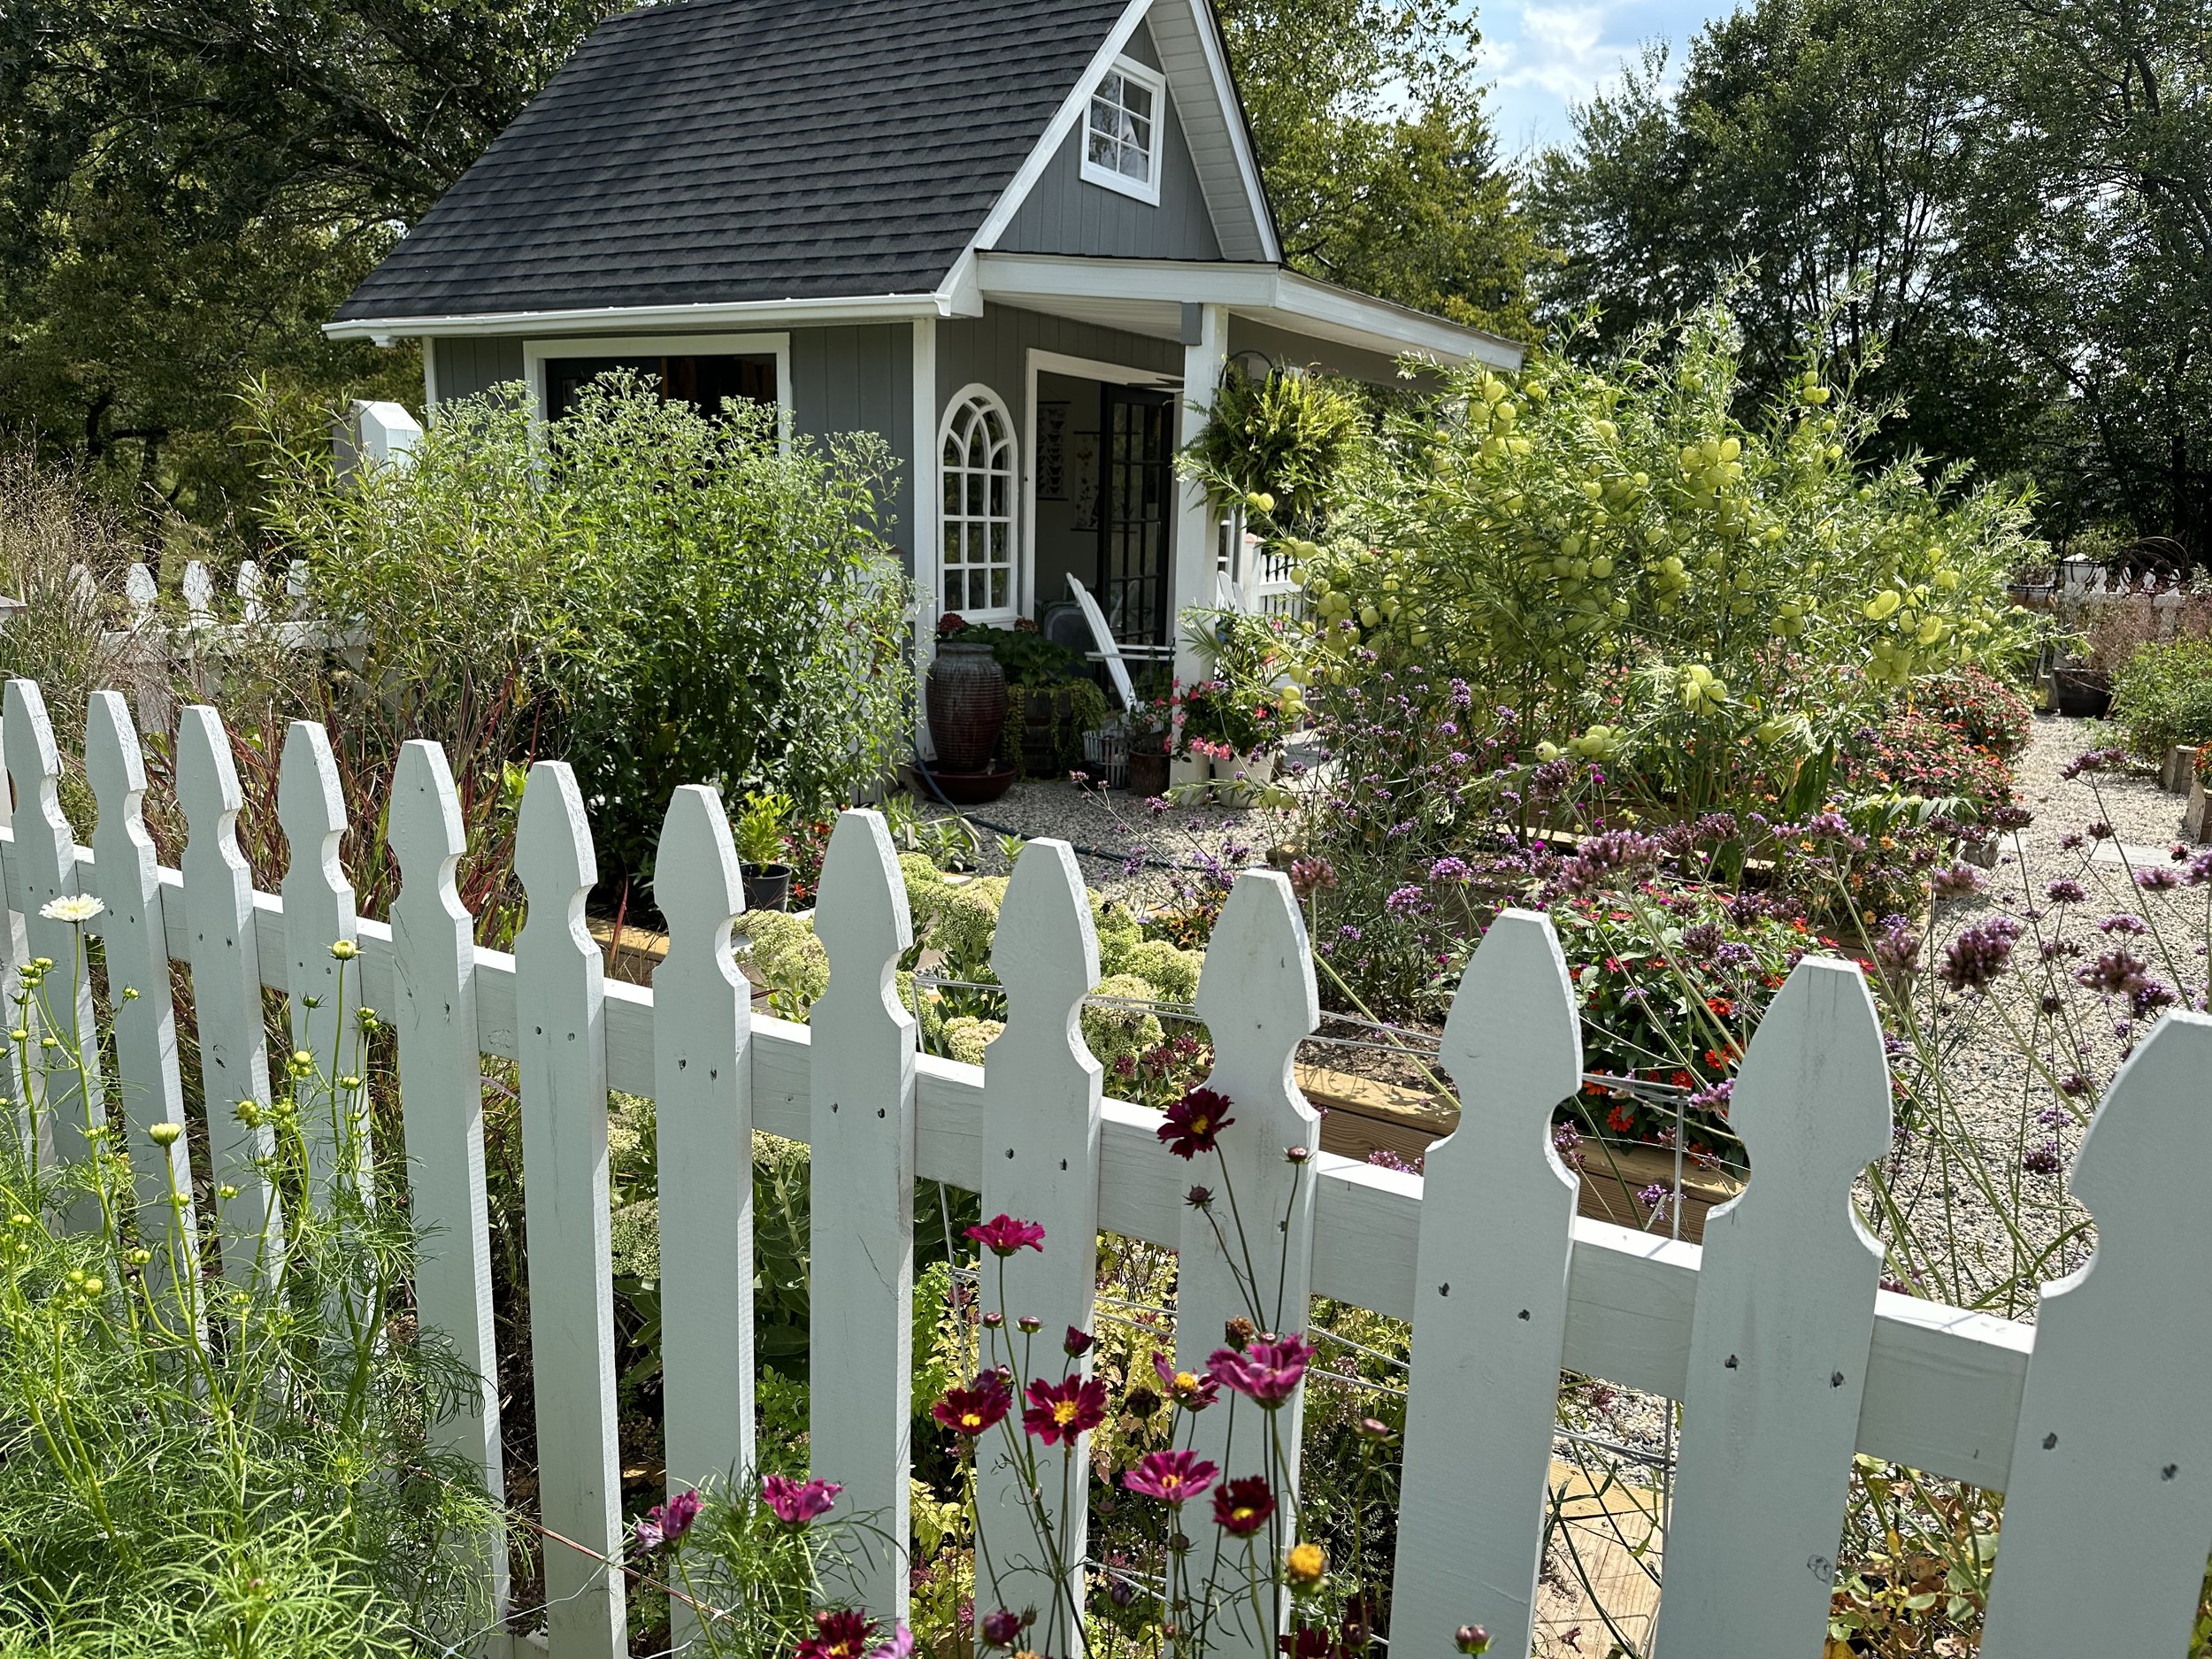
Updated photos as of August, 2023…..
